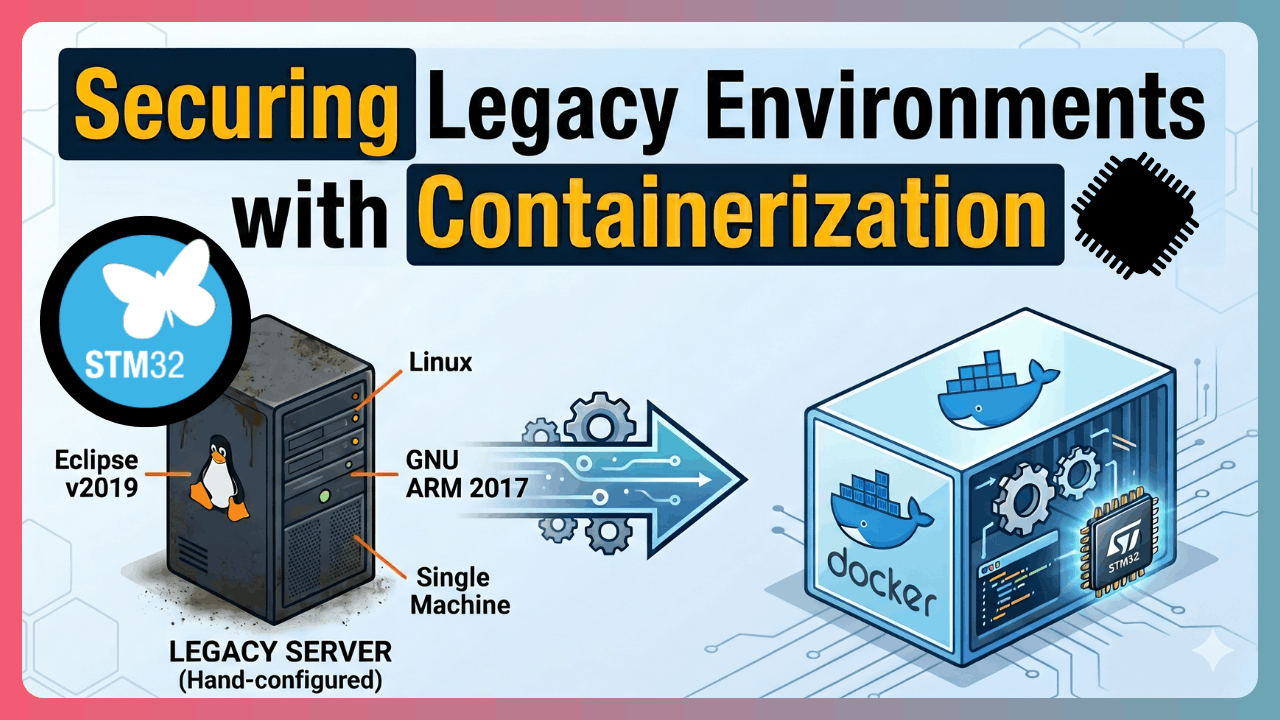
In this post, I explain how I turned an old build environment into a Docker container. This environment lives on a legacy Linux server. It was set up for an STM32 microcontroller and is used for legacy projects. Its history is not fully clear.
In this post we will mainly cover:
- 1️⃣ Understanding the current state
- 2️⃣ Containerizing the toolchain
- 3️⃣ Making sure the container produces the same build
While doing this work, AI (Claude Opus) sped me up a lot. I will talk about that too. Let’s start!
Current State
There is an STM32 development environment on a virtual Linux machine. It was set up by hand some time ago.
Developers have used this environment over a remote desktop connection. It is also used in CI as a build environment, through a GitLab Runner shell executor.
Most projects that use this chain are legacy. Today it is mostly used by CI. But that does not mean it will stay that way. One day, a developer may still need to work on one of these legacy projects, for some reason. So we have to make sure that when that day comes, we are not in trouble!
Problems:
- Toolchains are installed on single machine and CI relies on this machine.
- We do not know which toolchains are installed exactly. The person who set up the environment is no longer maintaining the setup.
- Because it is unknown, it is hard to install it somewhere else and distribute it.
- It is not inside a container, so we cannot run CI on the scalable Docker runner pool.
To secure the future before a crisis happens:
- Identify the toolchain and install the correct versions inside a container.
- Keep the Dockerfile, so we keep the recipe of the development environment.
- Use the container in both CI and GUI-based development.
- Do not depend on a single machine. Secure the future.
- Thanks to the container technology, run CI on Docker runners, scale it, and work independently from any single machine.
What we have:
- The project has a CI script, even if it is not container-based. We can see how it builds on the CLI.
- We have access to the machine where the toolchain is installed. We can open a remote connection, see the GUI, and connect with SSH.
- We can still contact the person who set up the machine years ago. They do not remember every detail, but we can get some information from their memories.
STM32 Development Environments
As of 2026, a preferred development environment for STM32 MCUs can use a CMake-based flow. Today, STMicro supports a CMake-based flow and interactive development in VS Code. Another flow we can still use, a bit older, is based on STM32CubeIDE. STM32CubeIDE is an Eclipse-based tool. It also includes other tools like CubeMX. The first version of STM32CubeIDE was released in April 2019. 1 2 STM32CubeIDE is an integrated environment. It includes software like TrueSTUDIO from Atollic (a company STM acquired in 2017) and STM32CubeMX. 3
When our legacy projects were made, STM32CubeIDE existed but was quite new. For various reasons (like being a fresh and buggy software), it was not chosen. Instead, we have a toolchain set up by hand, using Eclipse + CDT + GNU ARM Cross Compiler Toolchain.
If STM32CubeIDE had been used, knowing only its version would probably be enough. That is because STM32CubeIDE comes with an Eclipse IDE configured for embedded C/C++ development and a cross compiler toolchain. These come as one bundle. So when you install the correct version of STM32CubeIDE, all the other parts get the correct version too. But in the manual setup, all parts are independent, and each one must be installed correctly. This is fine because back in days, instead of using a newly released STM32CubeIDE software developers chose manual setups in general which is a good engineering practice.
The CI scripts call eclipse directly, and the CI uses plugins like CDT
indirectly.
🕵️ Analyzing the Development Environment
First, we will try to find the parts of the development environment, step by step. For this, we will both browse the directories on the Linux machine and run the Eclipse GUI. We will get help from AI to find the correct versions easily, to do detective work, and to create the Dockerfile.
In this work, I used Claude Opus 4.7 🤖.
Let’s start with the directory.
All tools are installed under /opt/eclipse. Not the most ideal name, but
fine…
When we go into this directory and look at its contents, we see something
interesting. To skip unneeded details, I show you year - file/directory name
pairs (the command I used is find . -maxdepth 1 ! -path . -printf "%TY %f\n"):
2017 gcc-arm-none-eabi-6-2017-q2-update
2022 plugins
2019 readme
2019 .eclipseproduct
2022 artifacts.xml
2022 configuration
2022 p2
2019 icon.xpm
2019 notice.html
2022 eclipse.ini
2019 eclipse
2022 features
2019 dropins
The gcc-arm-none-eabi-6-2017-q2-update directory shows quite clearly which
cross compiler was installed. From the directory layout, it looks like the
Eclipse tar.gz file was extracted first. Then the GCC ARM cross compiler was
extracted into the same directory. The directories from different years also
suggest that the parts were not all installed around the same time.
Let’s open the Eclipse GUI and check its version.

Eclipse Version
On this screen, by clicking Installation Details, we can see important parts
like CDT. Here the version of Eclipse C/C++ Development Tools shows as
9.8.0.201906071757.
🤖 AI-Assisted Research
After this point, I used Claude Opus to find the correct parts based on the versions I gave, and to create a suitable Dockerfile. The original host was Ubuntu 20.04, so I wanted to keep this as the container base image. I will use X11 forwarding for GUI access inside the container, so I do not want extra parts for the GUI. For now, I do not need to flash or debug the MCU from inside the container; being able to build is enough. There was an anecdote that the original setup may have been done by following Eric Styger’s blog, https://mcuoneclipse.com, so I gave this information to Opus to use in its research too.
From my exchanges with Opus and its research, an interesting point comes up. Our
Eclipse version is 2019-06 R(4.12), BUT the GNU MCU plugins version in use
is 4.1.1, which is from 2017. If you notice, there is a 2-year gap between the
Eclipse version and some parts. This is a bit strange, but the environment was
set up this way back then. My goal is to keep the existing environment as
is, so I do not change any version.
To cross-check with Opus, I also gave some of the other version numbers and dates I read from the GUI. It keeps searching the internet and confirms the versions it chose.
Finally, Opus suggests that I run arm-none-eabi-gcc --version on the original
machine and look at the output. It tells me directly what the output should look
like. I run
/opt/eclipse/gcc-arm-none-eabi-6-2017-q2-update/bin/arm-none-eabi-gcc --version and look, and I get exactly the same output as its prediction. My
confidence that the result will be good goes up.
Here, the biggest help from the AI tool was finding where to download the correct version packages. It asked interactive questions like a wizard screen. It guided me on where to look in the directories or the GUI. It also found what the parts were, using version and date information, and found the URLs to download them. Of course, not everything was smooth…
📄 Dockerfile
Opus gives a Dockerfile. It is not exactly what I want, but it is quite good. I make small fixes. It found the upstream URLs for all the parts it installs, and it wrote the Dockerfile in a quite generic way. But one of the upstream URLs it found does not work. I search on Google, find a working upstream, and replace it. Later, I will improve the Dockerfile to do MD5SUM and similar checks, like the other Dockerfiles in my EBox project. But for now, let’s run our tests.
There is no problem during docker build. The Dockerfile Opus wrote came out
almost completely correct. I changed it a little, but in its main outline it
is definitely a working file. I can say the AI sped up my work a lot here.
On the system I tried, downloading from the Eclipse mirrors was very slow at
that moment. I do not know why. It got better in the following days. Because I
was also changing the Dockerfile, the layer that does the download kept getting
invalidated during my tests, so I had to download again and again. To speed this
up, I downloaded the file to my computer once, through my web browser. To use it
from inside the container during the Docker build, I serve the folder where I
downloaded the file over HTTP, using python3 -m http.server 8123 on the host
computer. When the URL in the Dockerfile is in the form
http://172.17.0.1:8123, it uses the package I downloaded to my host computer.
Moving to the EBox Project
I publish this work under my project EBox (Embedded Box). In this project, I share container recipes (Dockerfiles) that can be useful for people working on FPGA and embedded systems. If you are interested in similar topics, I also recommend taking a look at the project.
👉 EBox (Embedded Box): https://github.com/alperyazar/EBox
I edit the Dockerfile I got in the previous steps so it fits the use in the EBox project. In the EBox project, I use a custom entry point. This way, it works with both Podman and Docker. It also makes sure the running user’s files are used with the correct permissions at runtime.
As part of EBox, I published the Dockerfile I created in this post:
👉 https://github.com/alperyazar/EBox/blob/stm32-legacy-0/stm/stm32-legacy-0/Dockerfile
You can reach and review it from the link above. It is currently a Pull Request, so the link may change after the work is merged. If I do not forget, I will update this link. But even if I forget, I think you can find it easily in the repo.
🤔 Did We Get It Right?
With AI help, and some detective work 🕵️, we created a container. But can we
safely replace the original toolchain with it? How do we make sure we still
get the same result? In the rest of the post, the letter O means the
original development environment, and the letter C means the container I
created.
💡 One test we can do here is to compare the old outputs with the new outputs.
When we compare the HEX file that will be loaded on the board, we see that both
O and C produce a file with the same hash (MD5) value. So our new
environment produces exactly the same output. I ran the old CI 3 times. The CI
outputs include an ELF, a HEX, and a MAP file. Across the 3 runs, all 3 are the
same as each other.
In the C environment, I also did 3 separate builds. The HEX file from all 3
has the same hash value as the 3 HEX files from O, so all 6 HEX files are
identical.
The final output staying the same shows that things are going well. But while we are at it, let’s go a bit deeper…
The ELF and MAP files contain a lot of path information. It seems there is no
time information in them. That is why the 3 builds in the O environment
produce the same ELF and MAP files. In the C environment CI builds, the path
where the container mounts the project changes, so the ELF and MAP files differ
between O and C.
But there is one more interesting thing: in the C environment, the 3 ELF
files and the MAP files are not the same as each other either!
This is different from the O environment, where the same file always came out.
The ELF and MAP files not matching between C and O happens because the paths
are different. Or at least we can say this factor is present; we will check if
there is another difference too. But why are the C outputs not consistent
among themselves? When I looked into this, I saw that the CI infrastructure
(the GitLab Runner Docker executor) can mount the container’s working directory
in different places. These paths also appear in the ELF and MAP files, so the
checksum values become different.
The fact that all 6 HEX files are identical actually shows that the code that will run on the board is exactly the same. Just to learn, let’s try to compare the ELF files. We may need this in another situation.
The ELF file format contains more than one section. Since the HEX file is the
same, we expect the parts of the ELF that make up the executable to be the same.
By the way, the text, data, bss, and dec sizes in all 6 ELF files are
the same as each other, which is a good thing.
First, let’s look at the ELF sections with arm-none-eabi-objdump -h firmware.elf. In my example, there are 18 sections. Many of them are not parts
that get loaded on the board.
Now let’s try to compare using the ELF file. When we run arm-none-eabi-readelf -S firmware.elf, we see a flag field Flg for each section. The ones that
contain the A character are the parts with the SHF_ALLOC property. We expect
these to be in the HEX/BIN output. As well as looking by eye, we can also filter
with arm-none-eabi-readelf -S firmware.elf | grep -E ' (A|AX|AW|WA)( |$)'.
In my case, the following sections have this flag.
.isr_vector         A
.text              AX
.rodata             A
.init_array        WA
.fini_array        WA
.data              WA
.bss               WA
._user_heap_stack  WA
With the script below, we dump each selected section into separate files and compute the MD5 checksum values. When I run this for two different ELF files that have different MD5 values, I see that these sections are actually the same in both files.
for section in .isr_vector .text .rodata .init_array .fini_array .data .bss ._user_heap_stack; do
    arm-none-eabi-objcopy -O binary --only-section=$section firmware.elf "$section.bin"
    echo "$section: $(md5sum < $section.bin)"
done
Another alternative is comparing the objcopy outputs. But this comes to the
same thing as comparing the HEX files.
arm-none-eabi-objcopy -O binary firmware.elf firmware.bin
I can see that the BIN outputs of the different ELF files are again the same.
In short, we can see that the C (container) environment and the O
(original) environment produce the same executable. This means we can replace
our toolchain safely.
In Summary
To summarize:
Keeping a project’s development environment for the future, in a proper way, is as important as keeping the source code. In the future, you may have the source code. But if you cannot build it, or if you build it with a different toolchain without noticing, you will be in trouble.
Container technologies come to help right here. Isolating development
environments and describing how to build them from scratch in text form (a
Dockerfile) is a big help. Also, the containers you create can be used both for
automatic builds in CI/CD flows and with GUI-like environments during
development. Container-based CI environments can be scaled much more easily when
needed. When the container a developer uses locally is exactly the same as the CI
container, this guarantees that we get the same result in both flows. After you
create the container once, it is very easy for other developers to use it, just
docker/podman pull.
Remember: keeping the Dockerfile is not enough. It is only the recipe. Here, a few tools come from different upstream mirrors. If one of those mirrors goes away, the Dockerfile alone cannot rebuild the container. So keep the installation files yourself too. With only a few files, that is easy to do.
If you are interested in embedded systems and FPGA, I recommend looking at my EBox project, which I created for containerizing development environments.
AI can speed up this kind of work a lot. It sped me up a lot, especially in the research and detective work parts I mentioned in this post. The Dockerfile it created was quite good too, but I had to make some fixes.
See you in another post…
